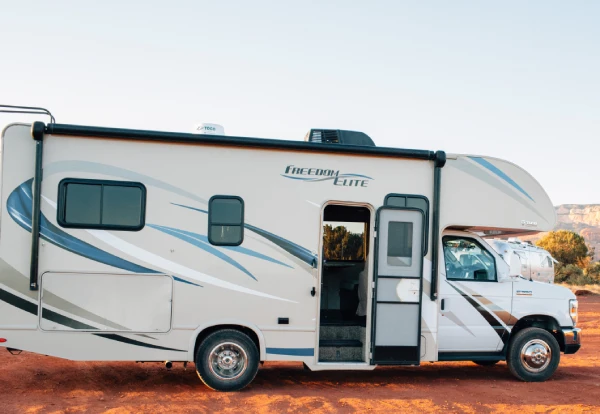
RV windshields are a critical component of your recreational vehicle. They provide a barrier between you and the elements, and also ensure the safety of you and your passengers. However, when these windshields become damaged, it can be a stressful and expensive process to replace them. This article will provide a comprehensive guide to replacing an RV windshield.
Step 1: Choose the Right Windshield
The first step in RV windshield replacement in Queen Creek is to choose the right windshield for your vehicle. There are a variety of sizes and styles available, so it’s important to make sure you select the correct size and type for your make and model of vehicle. In addition, you should also consider the type of glass you want to use. You can choose from standard tempered glass or more durable laminated glass.
Step 2: Get the Windshield Installed
Once you have chosen the right windshield, you’ll need to have it professionally installed. It’s important to find a qualified technician who has experience working with RV windshields. They will be able to ensure that your new windshield is properly installed and sealed.
Step 3: Maintain Your Windshield
Once your RV windshield is installed, it’s important to take steps to ensure that it will last for as long as possible. This includes regular cleaning, as well as checking for any cracks or chips. If you find any, you should have them repaired as soon as possible.